City Sunset Spots: How to Find Urban Twilight Viewpoints in the UK
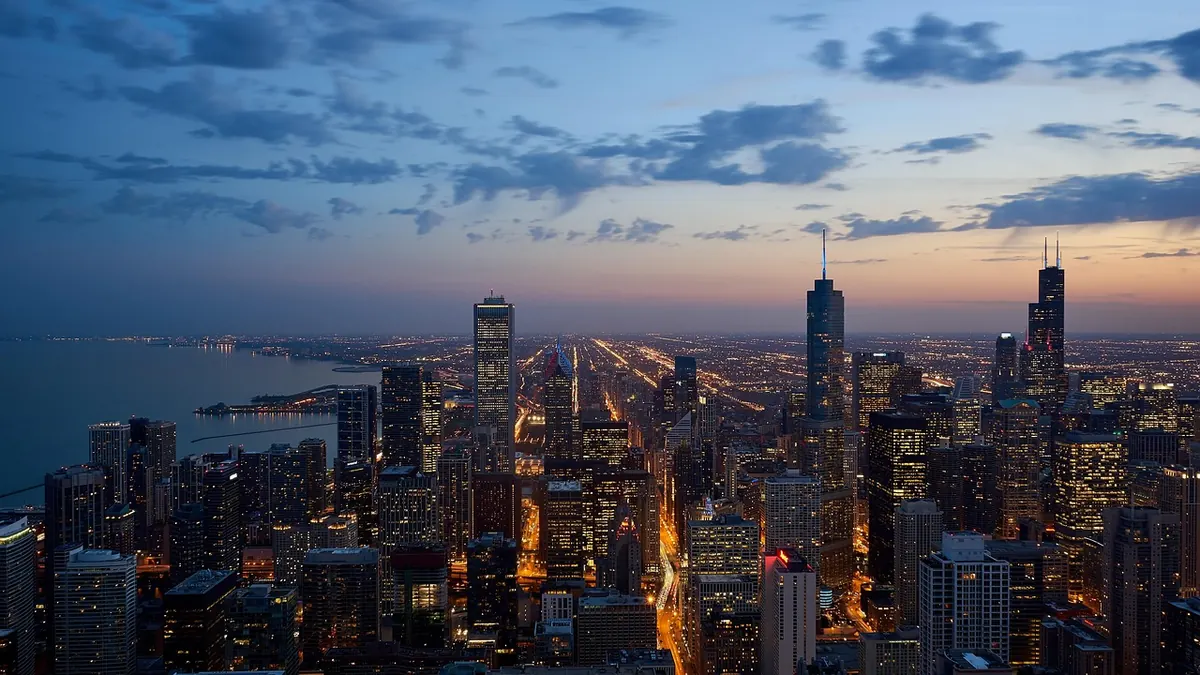
Twilight gives a city a second chance. Glass turns copper, wet tarmac becomes a mirror, and the twenty minutes between sunset and full dark produce colour no midday frame can touch. The hard part is rarely the light — it is the position. Urban twilight photography is mostly a logistics problem, and the photographers who come home with something worth keeping have usually solved it before they leave the house.
What follows is how to find viewpoints that work in UK cities, and how to shoot them when the light finally arrives.
Most disappointing city sunsets fail for a simple reason: the photographer picked a famous view and hoped the light would suit it. Work the other way round. Decide which way you want to look, then find somewhere to stand.
At UK latitudes the sun sets roughly north-west in midsummer and south-west in midwinter. That single fact eliminates half your shortlist. A west-facing riverside path catches the last colour in June; a south-west-facing hilltop does the same in January. If you want the glow that makes cities look their best — the sky opposite the sunset, with buildings silhouetted against it — you need to be looking east, with the lit sky behind you.
Plan two compositions in the same place: a wide frame for the sky, and something tighter for the moment the streetlights flicker on.
Satellite imagery and contour lines are the twilight photographer's cheapest research tools. An evening with a map open is worth more than an hour of wandering with a tripod.
Then check the view at street level. What looks like a clear panorama from above is often a wall of trees, hoardings or a new hotel.
Rooftop access in UK cities is mostly a matter of asking. Hotels, bars, department stores and office buildings with public terraces will often tolerate a tripod on a balcony if you arrive before the rush, buy something and stay out of the way. Ring ahead on a quiet afternoon. A venue that says no to a stranger with a rucksack may say yes to someone who explains they will be there for half an hour at dusk and then leave.
Never climb barriers or force roof access, and treat a refusal as final. Your legal alternatives are usually good ones: parkland hills, the top deck of a car park, a museum's upper floor, a hotel bar with a window seat, the steps of a civic building.
If you fly a drone, check the current CAA rules and any local restrictions before take-off. Sheltered urban air is rarely as calm as it looks.
Bridges are the workhorses of urban twilight. They put you above water, they frame the shot with structure, and they cost nothing. They also vibrate.
Set the tripod on the solid abutment at the end of the span rather than the middle, stand clear of the lane where buses run, and use a two-second delay so the wobble settles before the shutter opens. If the whole bridge shakes, brace the tripod against the parapet and shorten the exposure.
Footbridges suit long exposures; road bridges suit light trails. Try both in the same session. Ten seconds at f/11 turns traffic into ribbons of red and white while keeping the buildings crisp.
Water is what turns a competent city shot into a memorable one, but it has rules of its own. Check tide times before you go. On tidal rivers and estuaries, low water can expose mud that kills a reflection, while a rising tide can cut off the slipway you planned to stand on. Harbour authorities publish tables, and a minute's checking saves a wasted trip.
Look for still water with a slight ripple — enough to texture the light without breaking the reflection apart. Rain is not your enemy here. Wet quaysides and pavements bounce colour back into the shadows long after the sky has gone quiet.
You do not need much, but you do need the tripod. A lightweight travel tripod with a hook for your bag is more use than a heavy one you leave at home. Add a remote release or use the self-timer, a cloth for lens mist, and a small torch for finding dials in the dark.
Shoot raw, set white balance to daylight or cloud rather than auto, and begin at ISO 100–200, f/8–f/11, with whatever shutter speed the meter suggests — often one to fifteen seconds once the streetlights are on. Check the histogram rather than the back screen; a bright sky over dark buildings will look worse on camera than it really is. Bracket three frames two stops apart when the contrast is extreme and blend them later if you need to.
Focus manually using live view magnification on a distant lit window. Autofocus hunts at dusk, and a soft frame after a long journey is a wasted one.
Arrive forty minutes before sunset and stay at least thirty minutes after. Colour often peaks when the sun is well
Photo: Pexels / Pixabay
Previous Post
UK Coastal Sunset Spots: 10 Places for Twilight Photography
Next Post
Landscape Photography at Dusk: Composing for Depth and Drama