How to Edit Noise in High-ISO Twilight Photos Without Losing Detail
Twilight is where noise hides. The sky is a deep blue gradient, the shadows are heavy, and you're pushing ISO 3200 or 6400 because you want stars as points rather than smears. Then you open the file and the grain looks like gravel. The instinct is to drag Luminance up to 80 and call it done, which turns stars into grey blobs and drystone walls into candle wax. The trick isn't less noise reduction. It's putting it in the right places.
Everything below gets easier if the raw file is well exposed. Twilight tempts you to underexpose so the sky's highlights stay safe, then lift the shadows later — and lifting shadows is precisely how noise becomes visible. Expose as brightly as you can while keeping detail in the brightest part of the sky. If the histogram sits comfortably mid-range and nothing is clipped, you've done your part.
Shoot raw. It carries the colour information your editor needs to separate chroma noise from genuine colour, and it gives you far more room before banding appears across a smooth gradient. Long exposures also accumulate hot pixels, so if your camera has a long-exposure noise reduction option, use it, or shoot a dark frame with the lens cap on at the same shutter speed, ISO and temperature, and subtract it later.
High-ISO twilight files carry two distinct problems. Luminance noise is brightness grain — the sandy texture in flat sky. Colour noise is blotchy magenta and green patches, usually in shadows and gradients. They need handling in different measures.
Colour noise is the easy one. At twilight it carries almost no real detail, so you can remove it fairly aggressively: twenty to thirty on the Colour slider is a common starting point, with Colour Detail left around fifty so small coloured stars and lit windows keep their hue. Luminance noise removal is where detail goes to die. Treat it as a scalpel, not a sledgehammer.
Sharpening before noise reduction just sharpens the noise. Applying noise reduction twice compounds the smearing. A sequence that holds up:
If your editor saves presets, build one for twilight and adjust from there rather than starting at zero every time.
Global noise reduction is a blunt instrument. Masking turns it into local repair, and it's the single biggest reason a twilight edit keeps its stars and stonework.
Use a luminance range mask to limit noise reduction to the darkest tones. Flat, dusty sky benefits; the brighter horizon, where heavy smoothing shows up as streaking, gets less. Then intersect that with a colour range mask over the blue or magenta areas of sky. A gradient across the frame, intersected with a luminance range limited to the darkest half, gives you a mask covering exactly the murky sky near the horizon and nothing else.
For the star field, invert the thinking. Stars are the smallest detail in the frame and the first thing luminance reduction eats. Use a brush, or a luminance mask set to the brightest pixels, and reduce Luminance noise reduction there — even to zero — while nudging Detail up. The stars stay crisp points; the sky between them stays smooth.
Hold the overlay shortcut and look at the mask in isolation before you judge the result. It's common to find your "sky only" mask is quietly including the church tower, or missing the corner where noise is worst.
Sharpening multiplies whatever is in the file, noise included. A few habits keep it under control:
Some files ask for a different approach. Stacking is the most reliable: shoot five to ten frames from a tripod without moving anything, then align and average them. Random noise falls away while stars, buildings and foreground texture stay. The gain scales roughly with the square root of the number of frames, so there's a point where extra frames cost more patience than they return.
Stubborn hot pixels respond better to spot removal, a dark frame, or a median stack, which also suits star trails. And if the sky is genuinely beyond saving, consider whether a second visit at a slightly earlier hour — with the sky a shade brighter and your ISO a stop lower — is a better use of an evening than another hour of masking.
Start to finish: expose as brightly as the highlights allow; set white balance and black point; remove colour noise until the blotches disappear; add luminance reduction in small steps, checking at 100%; mask it to the darkest, flattest areas and back it off wherever there's texture or stars; sharpen with a heavy edge mask; then look at the whole frame at fit-to-screen size, which is how nearly everyone will see it.
Noise is only a problem when it competes with detail. Get that balance right and grain in a twilight sky reads as atmosphere rather than damage — and the stars, which are the reason you were standing in the cold in the first place, are still there.
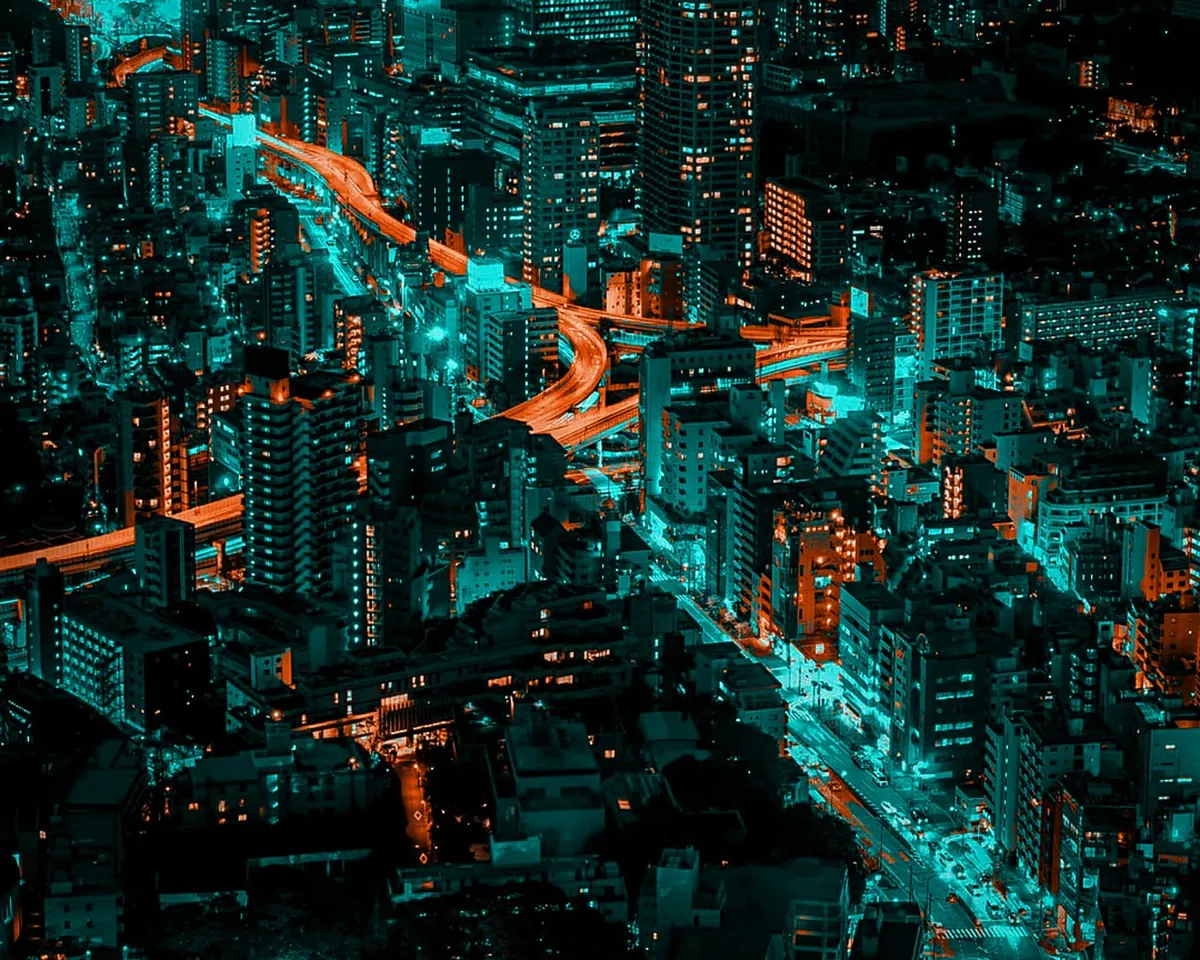
Photo: mahatoaaditya1234 / Pixabay
Previous Post
Editing Twilight Photos: How to Balance Warm Sunsets and Cool Shadows
Next Post
Sunset vs Blue Hour: Which Twilight Phase Suits Your Shot?