Sunset vs Blue Hour: Which Twilight Phase Suits Your Shot?
The sun slips below the horizon and the light changes character. For half an hour or so you have warm, directional light; then the sky settles into a deep, even blue and the streetlamps quietly take charge. Both phases are worth planning an evening around, but they are not interchangeable. Sunset flatters some subjects and fights others. Blue hour does the opposite. Knowing which one your shot needs — and how much time each gives you — is most of the difference between coming home with a photograph and coming home with a card full of near-misses.
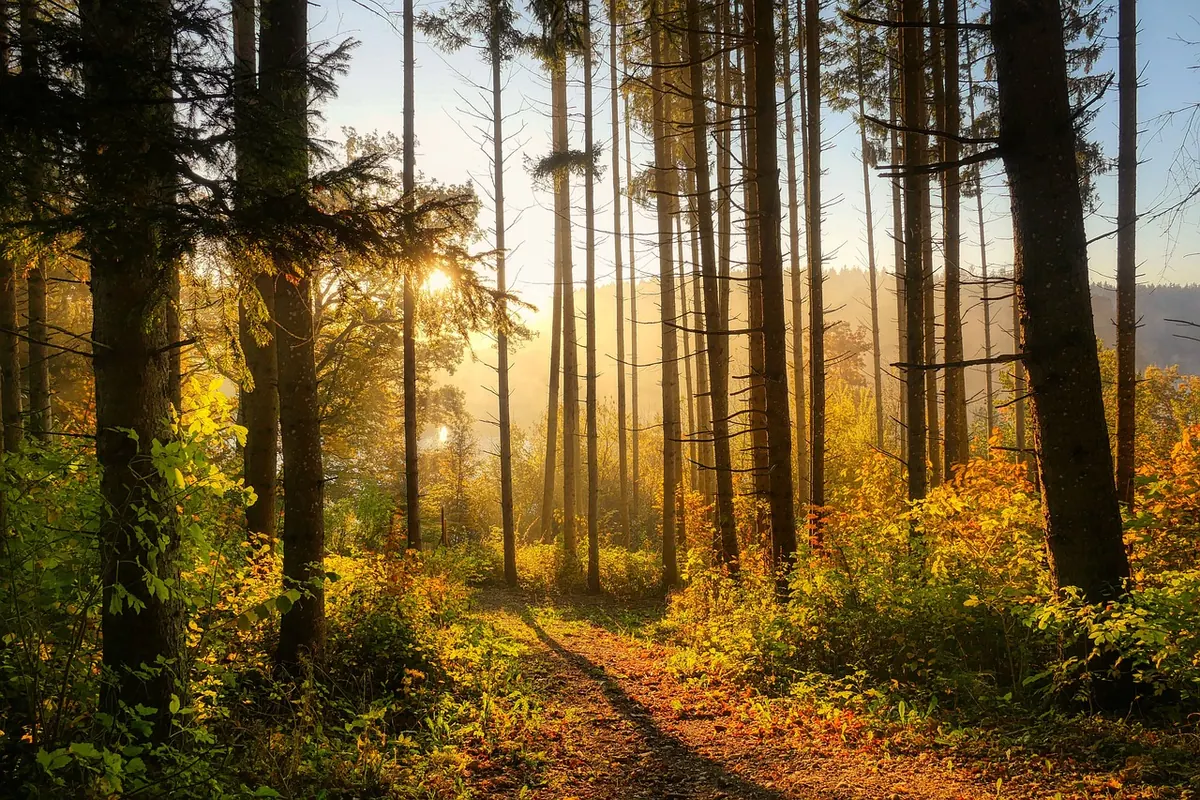
Sunset, and the golden hour that leads into it, is direct light from a low sun. Because that light travels through more atmosphere, the shorter wavelengths scatter away and what reaches you is warm — gold, amber, coral, occasionally a hard, saturated red. Direction matters more than anything else. You can shoot into it for silhouettes and flare, or across it for texture and long shadows raking over fields. Contrast is high, so you spend the time making decisions about highlights and shadows rather than enjoying an easy exposure. And it moves. A composition that works at 19:40 can be gone by ten to eight.
Once the sun is below the horizon, the sky stops being something you shoot into and becomes one enormous softbox. This is blue hour: the twilight stretch when the sky turns an even, cool blue and artificial lights start to hold their own against it. It generally runs for roughly twenty to forty minutes after sunset, but that varies a great deal. High latitudes and winter evenings stretch it out; the tropics and midsummer cut it short. Near the equator the sun drops steeply and the blue can be gone before you have finished setting up.
The two phases speak in different registers. Sunset is loud: warm hues, bright highlights, dark shapes, a sense of something ending. Blue hour is quiet: cool tones, low contrast, steady light, and a mood that reads as calm or slightly melancholy, depending on what is in the frame.
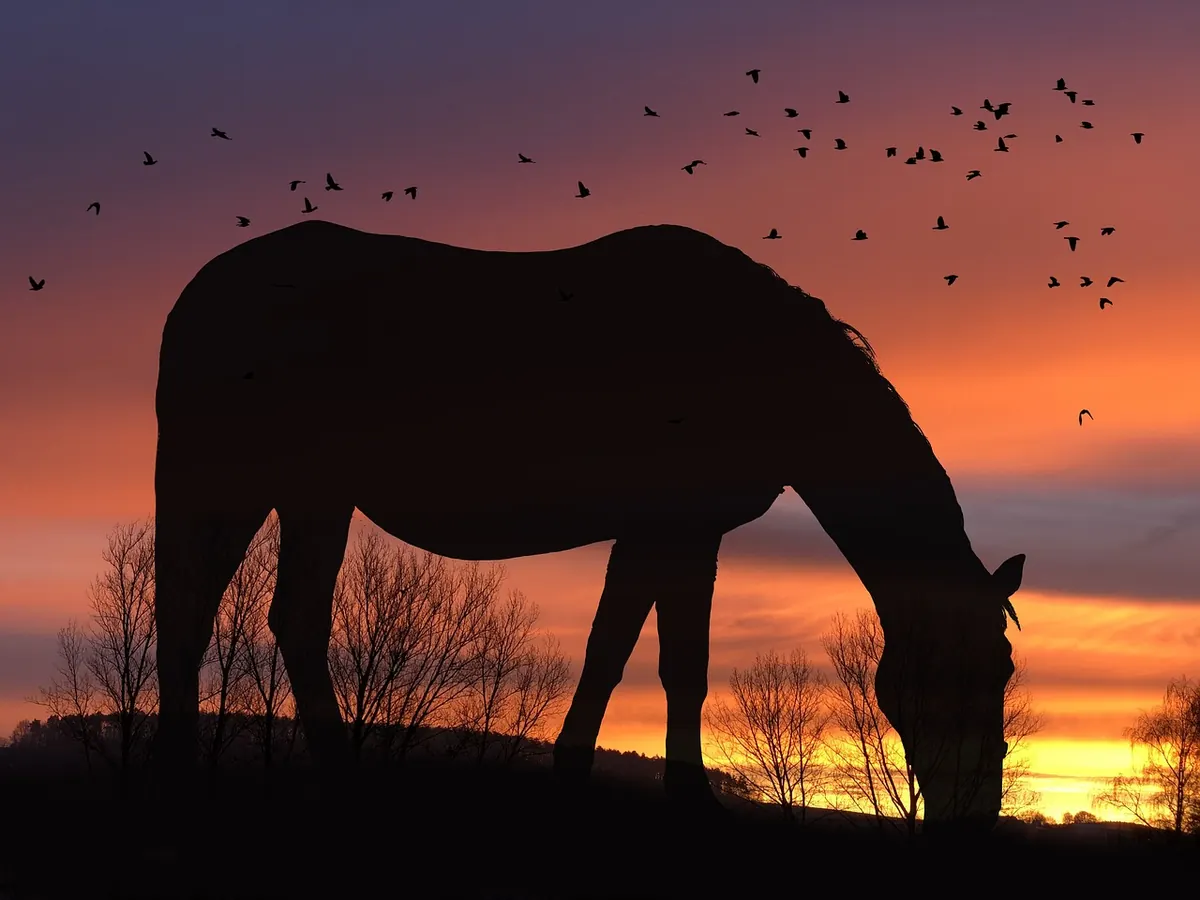
If your subject depends on shape, rim light or a bright backdrop, sunset is your phase. Silhouetted trees, hills and figures; backlit grasses and seed heads; wet sand and calm water throwing the glow back at you; birds, kites and aircraft crossing a coloured sky. Portraits work beautifully with the sun behind the subject, giving a bright halo along the hair and shoulders — just watch for flare washing out the face and be ready to shade the lens with your hand.
Telephoto work is another sunset speciality. A long lens compresses distance and makes the sun a large, defined disc behind a pier, a church tower or a line of trees. If you are pointing a camera anywhere near the sun, use live view rather than an optical viewfinder, and never magnify the sun without a proper solar filter.
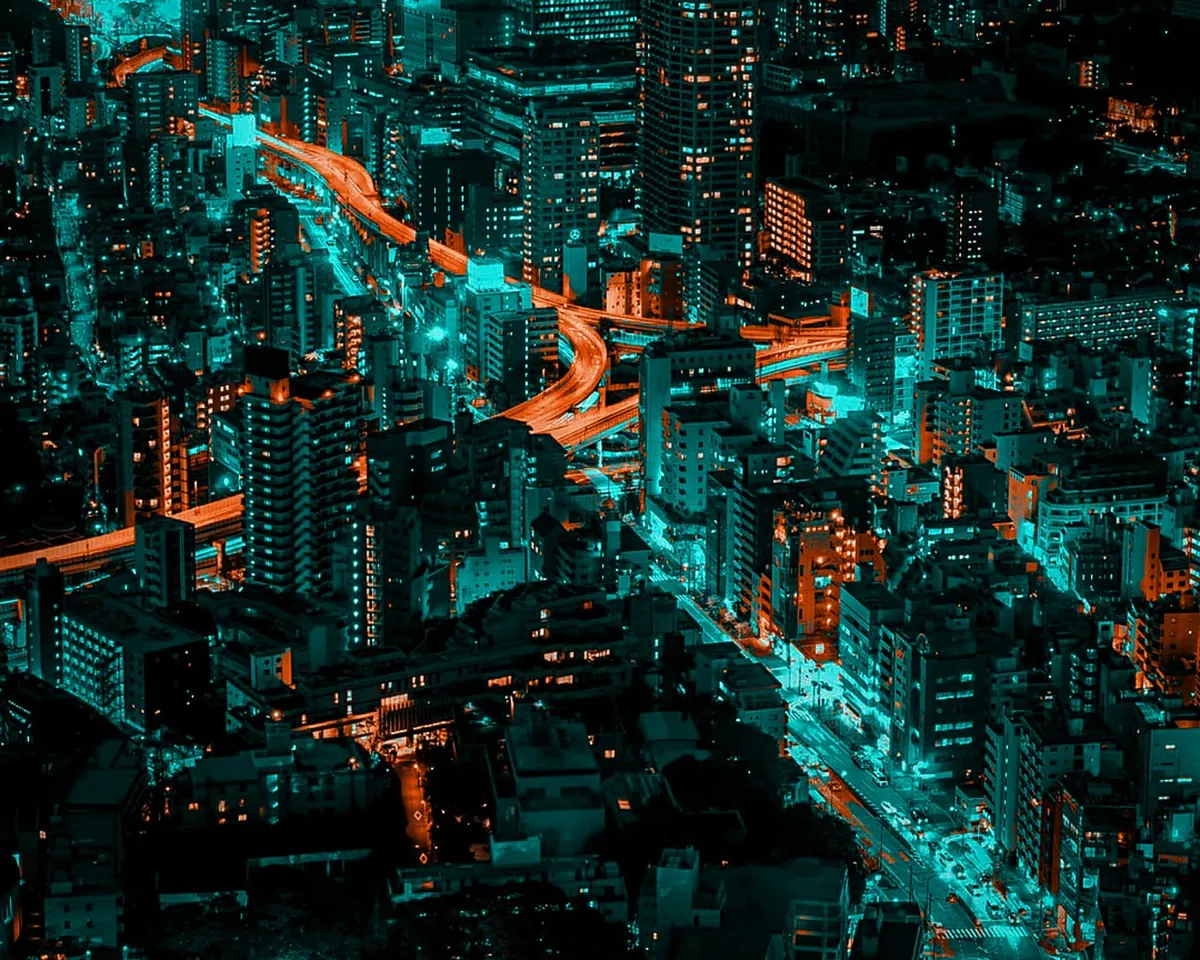
Blue hour rewards anything that involves light you did not bring yourself. City skylines, illuminated bridges, harbours and marinas, shopfronts, funfairs, light trails from traffic, steam and chimney smoke catching the last of the sky. Rivers and wet streets are excellent because reflections double the colour and give you something to fill a foreground.
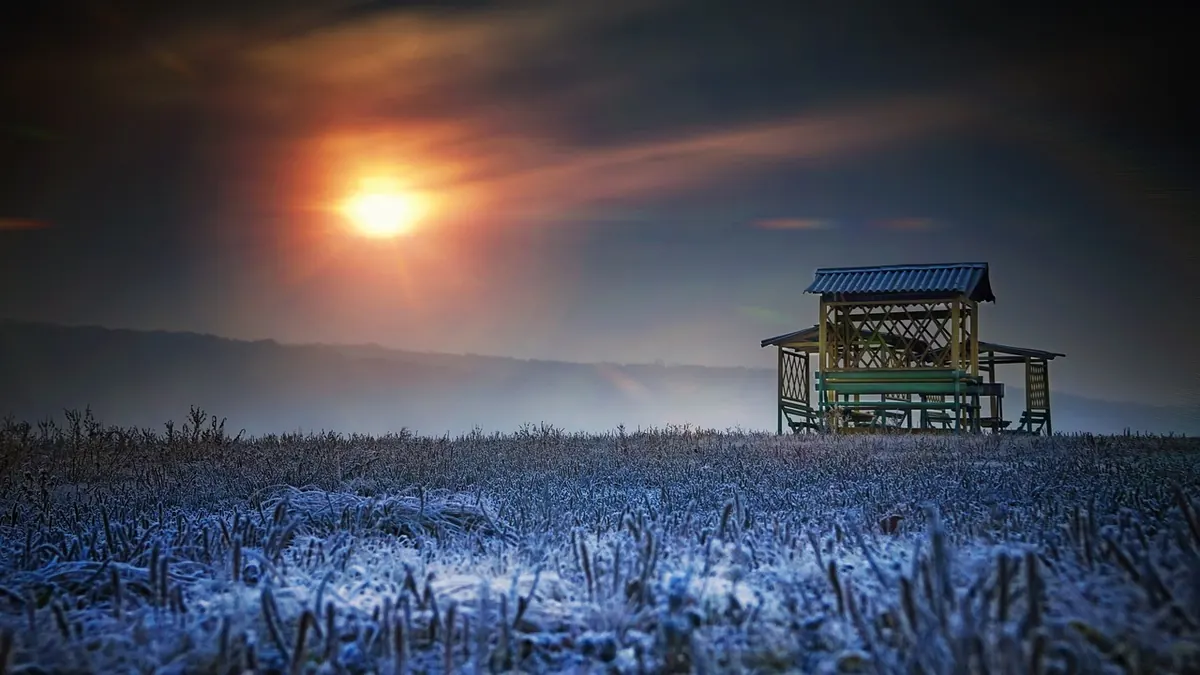
It also suits landscapes that would look flat under direct sun: mist in a valley, a lone tree on a ridge, a coastline shot with a long exposure so the sea turns to haze. Because the contrast is low, you can hold detail in both the sky and the shadows without much fighting, which is why blue hour often feels easier than sunset even though the exposures are longer.
The best-known secret of twilight photography is to turn around. After the sun disappears, the strongest colour is frequently on the opposite horizon: a band of pink or mauve above a darker strip of sky, the Earth's shadow rising as the light fades. Most photographers on a beach or a hillside are all facing the same way, missing it entirely.
Shoot the sunset towards the sun, then pivot 180 degrees and shoot the afterglow. Two completely different photographs, one tripod position.
That transition is also your bridge between phases. Stay put after the sun goes down, keep the composition you liked, and shoot the same frame again as the blue arrives. You will end up with a warm version and a cool version of the same scene, which is a useful thing to have when you cannot decide what the image wants to be.
Sunset is handholdable if you are careful; blue hour is not. Once exposures stretch past a second, a tripod, a remote release or a two-second timer, and image stabilisation switched off all become standard practice.
If your subject is a shape to be silhouetted, a face to be rimmed with light, or a scene that needs a big sky, plan around sunset and accept that you have a narrow window. If your subject is a place — a town, a harbour, a bridge, a lit street — go for blue hour and give yourself the extra half hour. If you are not sure, do both. Set up once, shoot the warm light as the sun drops, then keep the camera in place and shoot the cool light as it arrives. It is the cheapest experiment in twilight photography, and the one that teaches you fastest which phase you actually prefer.
Photo: 6opoga6ogpa / Pixabay
Previous Post
How to Edit Noise in High-ISO Twilight Photos Without Losing Detail
Next Post
Seasonal Twilight Photography: What to Shoot in Autumn and Winter