How to Focus in Low Light: Techniques for Sharp Dusk Photos
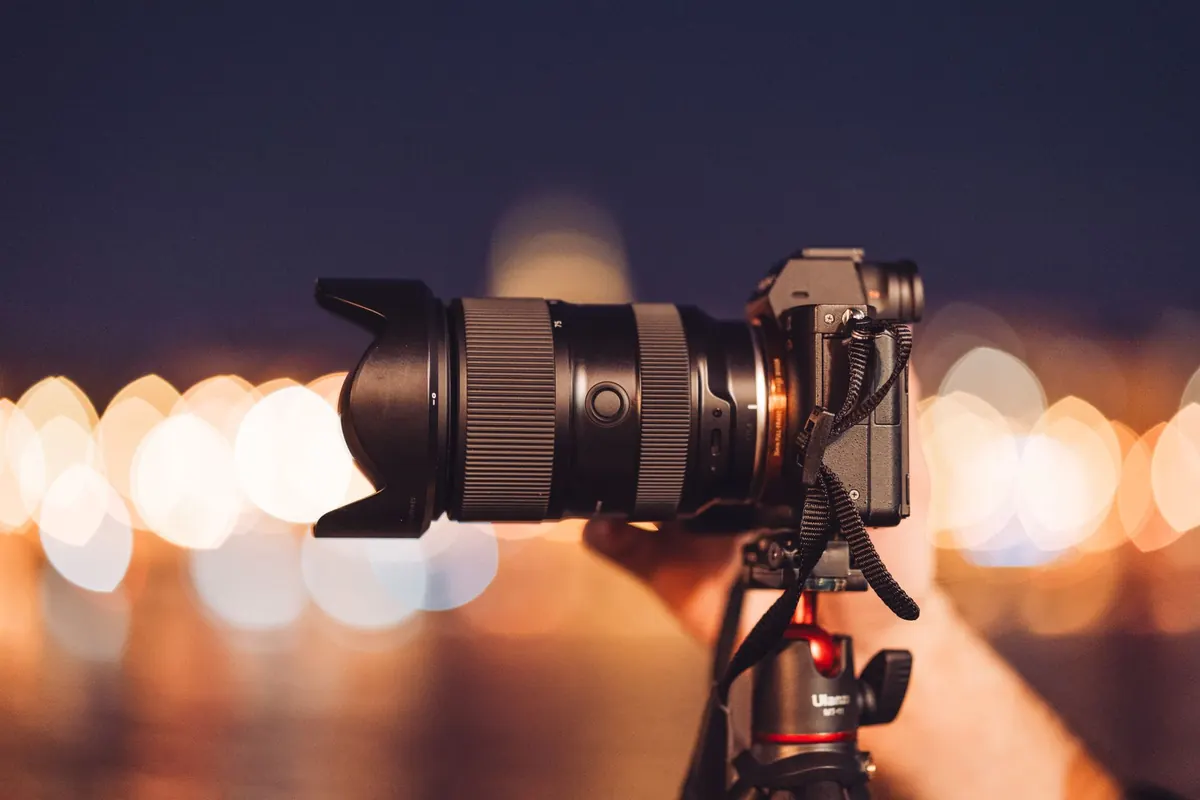
Twilight is generous with colour and mean with light. That gorgeous blue hour glow arrives precisely when your camera's autofocus starts to hesitate, hunting back and forth while the sky quietly drains of detail. The good news is that focus in low light is a solvable problem. It just needs a different approach from the one you use at midday.
Most autofocus systems rely on contrast detection or phase detection, and both need something to latch onto. In bright daylight there is plenty of contrast everywhere. At dusk, shadows swallow texture, colours flatten towards grey, and the remaining light is often low in contrast exactly where you want to focus. The camera isn't broken. It simply has less information to work with.
Understanding this changes how you shoot. Instead of pointing the camera at a scene and hoping, you start looking for edges, highlights and defined shapes. A lit window, a headland against the sky, a wet rock catching the last of the light. These give the autofocus something to grip.
Before you abandon autofocus entirely, try a few adjustments. Modern cameras are far more capable in dim conditions than their reputation suggests.
If your camera has an AF range limiter, use it. Restricting the lens to a far range stops it hunting through the entire focus throw when it should be looking at the horizon.
Separating focus from the shutter release is worth setting up before your next evening shoot. You focus with a button on the back of the camera and release the shutter independently. In low light this means you can lock focus once, take several frames as the light changes, and not worry about the camera re-hunting each time you press the shutter. Many photographers find this alone fixes half their dusk focus problems.
There comes a point in the evening when manual focus is simply faster and more reliable. Once the light drops past a certain level, you are better off taking control. The trick is making sure you can actually see what you're doing.
If your camera offers focus peaking, turn it on. It highlights in-focus edges with a coloured outline — often red, yellow or white — directly in the viewfinder or on the rear screen. You rotate the focus ring until the edges you care about glow. It feels almost like cheating the first time you use it in near-darkness.
A few things to keep in mind:
If you're shooting on a tripod in very low light, live view magnification plus peaking is the most accurate combination you have. Take your time. Nobody is timing you.
For landscapes at dusk, hyperfocal distance is the quiet workhorse. The idea is simple: at any given focal length and aperture, there's a focus distance at which everything from roughly half that distance to infinity is acceptably sharp. Focus there and the whole scene falls into place.
You don't need to memorise tables. Depth-of-field apps and charts will give you the figure for your lens and aperture. But some practical habits help:
Hyperfocal focusing pairs beautifully with tripod work. Set it once, and you can concentrate on exposure and composition while the light does its thing.
Perfect focus is wasted if the camera moves. In low light your shutter speeds creep longer, and hand-holding becomes a gamble. A tripod is the obvious answer, but a few other habits help: use a remote release or the two-second timer, switch off image stabilisation when the camera is locked down, and avoid touching the camera during the exposure. If you must hand-hold, brace against something solid and accept that some frames will be soft.
Arrive before the light starts to go. Set up your tripod, switch to single-point autofocus or manual, and enable focus peaking. Focus on your key subject while there's still enough light to see clearly, then switch to manual or back-button focus and leave it alone. Shoot at a moderate aperture, check your first frame by magnifying on the screen, and adjust only if something is genuinely off.
Then stop fiddling and watch the sky. The best twilight photographs come from photographers who sorted their focus early and spent the rest of the evening looking rather than fumbling with dials.
Photo: Tibor Szabo / Pexels
Previous Post
Common Mistakes in Twilight Photography and How to Avoid Them
Next Post
UK Coastal Sunset Spots: 10 Places for Twilight Photography