Twilight Photography Exposure Checklist: 12 Settings to Confirm Before Sunset
Twilight does not wait while you fiddle with a dial. The scene you meter at 7.30pm may be a stop and a half darker twenty minutes later, and the colour will have travelled from pale gold to deep blue in the same stretch. Most spoiled blue hour shots are not the fault of the camera. They are the result of decisions made too late, in the dark, with cold hands.
Fifteen minutes of preparation before sunset changes that. Confirm the twelve settings below while there is still plenty of light to see by, and the last half hour becomes about composition rather than menus.
Aperture does two jobs at twilight: it decides how much of the scene is sharp, and it controls how much light reaches the sensor. For a city skyline, a wide vista or anything with street lamps in it, f/8 to f/11 is the usual sweet spot — most lenses are at their crispest there, and point light sources hold a clean shape. If you want a foreground subject separated from a busy background, open up to f/2.8 or f/4 and accept that the rest of the frame falls away. Choose now, because changing aperture later changes your shutter speed and your whole exposure with it.
On a tripod, set base ISO — usually 100 or 200 — and leave it alone. Noise ruins smooth twilight gradients, and a long exposure at low ISO is almost always cleaner than a quick one at high ISO. Handheld shooters need the opposite approach: set a ceiling you are happy with, perhaps 1600 or 3200, and let Auto ISO work inside it. Also check whether long-exposure noise reduction is switched on. It doubles your exposure time, because the camera takes a dark frame afterwards, but it cleans up hot pixels in night skies.
Think in two numbers. The first is the slowest speed you can hold steady — roughly one over your focal length, a little slower with stabilisation and a decent stance. The second is the speed the picture actually needs: around 1/125 sec for people walking through a lit street, about 1/15 sec to blur passing traffic, several seconds to smooth water, and ten seconds or more for continuous light trails. Twilight exposures drift, so glance at the shutter speed between frames rather than trusting the one that worked ten minutes ago.
Evaluative or matrix metering generally handles twilight well. Spot metering off a bright lamp or a small patch of sky will underexpose everything else, so use it only when you know why. When the sky is bright and the ground is dark, expose for the sky and let the shadows sit where they fall — or bracket a stop either side and choose later.
Then remember that your LCD lies. In dim surroundings your eyes adapt, and the screen looks far brighter than the file actually is. Switch on the histogram and the highlight warning before sunset, and judge your exposures from those rather than from the preview. If you are pushing brightness for a JPEG, you will find the sky has already clipped when you get it home.
Auto white balance is the setting that quietly spoils a sequence. As the light fades, the camera keeps correcting towards neutral, so frames shot twenty minutes apart come back different colours. Pick a value and hold it. Daylight, around 5500K, keeps twilight blue and is usually what you want. Cloudy or Shade, roughly 6500K to 7500K, warms the scene and can rescue a flat evening. If you shoot raw you can adjust this later, but set it in camera anyway so the preview matches your intention. JPEG shooters should get it right before the light goes.
Scene modes labelled twilight or night portrait exist, and they can be a decent starting point, but they rarely let you control the other eleven settings on this list. Manual or aperture priority plus a fixed white balance will serve you better.
Autofocus hunts in low light, and the moment it gives up is usually the moment the colour is best. Focus early, on something with contrast and a bit of light on it — a lit window, a lamp post, the edge of a building against the sky — then switch the lens to manual and leave it there. For wide landscapes, focus at roughly a third of the way into the scene or set the hyperfocal distance and forget it. Single point autofocus beats a wide area mode, which will happily lock onto the wrong thing in the gloom.
Stabilisation helps handheld twilight work and can hurt tripod shots, so set it deliberately rather than leaving it on by habit. Most modern lenses detect a tripod and compensate, but older ones do not. If you are on a tripod with a DSLR, mirror lock-up plus a two-second delay will remove the last of the shake. A remote release is better still, and a folded coat hung under the centre column adds useful weight on a breezy evening.
Arrive at least half an hour before sunset. Take one test frame the moment you are set up, note the settings, and find your first composition while the light is still generous. Cold drains batteries quickly, so keep spares in an inside pocket and expect the last twenty per cent to disappear faster than you think. A lens cloth matters too; dusk often brings damp air and a faint film on the front element.
Once the checklist is done, resist the urge to keep checking the back of the camera. Watch the sky instead, and shoot in short bursts as the colour moves. The photographers who come home with the best twilight frames are rarely the ones with the newest gear — they are the ones who were ready before it started.
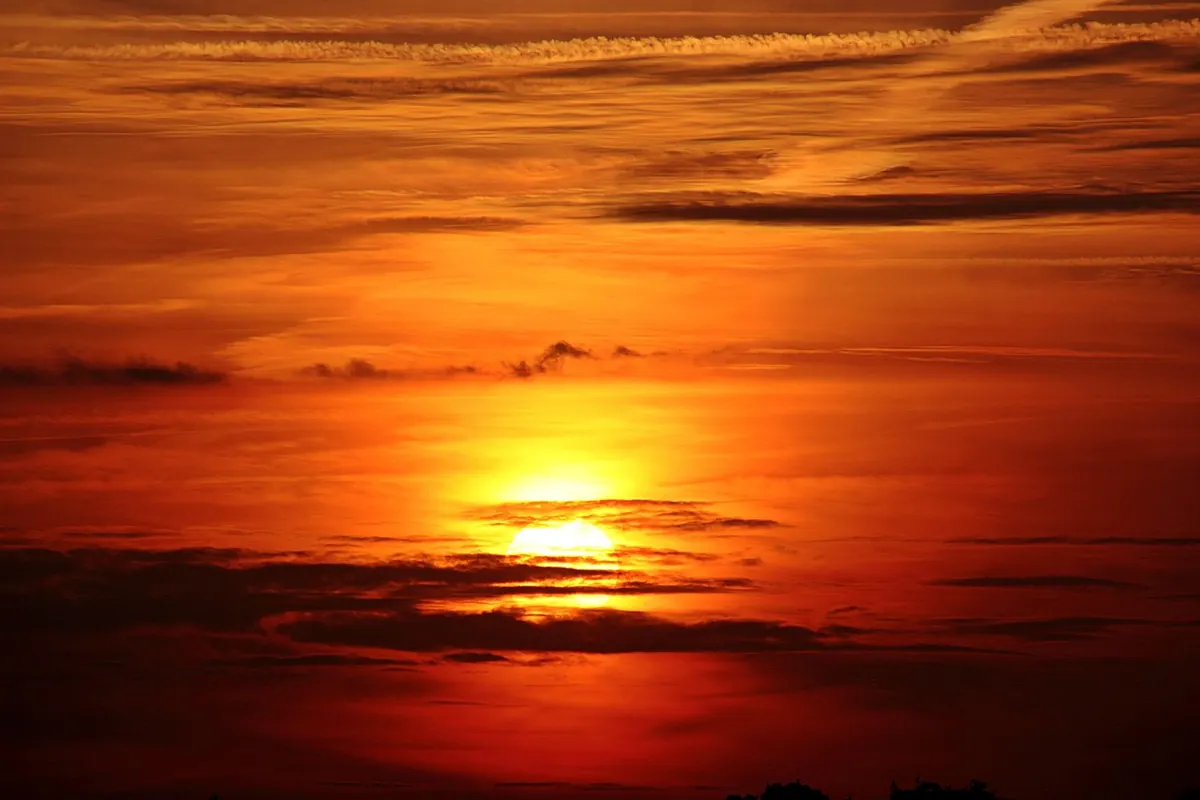
Photo: Myriams-Fotos / Pixabay
Previous Post
How to Photograph the Blue Hour: A Beginner's Step-by-Step Guide
Next Post
Common Mistakes in Twilight Photography and How to Avoid Them